
The first step of growing in an AeroGarden is, of course, sprouting seeds into baby plants. It is, by necessity, the stage when you know the least about how "this all works", as it is your first step. Therefore, it is all too easy to panic over the slightest variation from what you expect.
Don't panic!
AeroGardens are genuinely as easy as it is possible to be when dealing with living things. The vast majority of variables and stumbling blocks have been removed or streamlined. However, that doesn't mean there aren't any things that can go wrong - or appear to go wrong that are actually very normal.
So, what are some of the most common issues - or misleading non-issues?

Make Sure Your Sponges are Wet
 | |
| Dry Sponge on Top |
Every grow when using AG pods, I have at least one or two that don't wick the moisture up all the way. This is due to the nature of the sponges. They are compressed peat moss, which is very good at wicking and retaining moisture. However, paradoxically, when completely dried out, it can be resistant to absorbing water again, referred to as being 'hydrophobic'. This means it won't easily pull up the water from below, or 'wick', as it should. (This is one of the arguments in favor of pod sponges made of coco coir, which I prefer when seeding my own pods.)
Luckily, it's easy to deal with. Just gently drip a bit of water to sit on top of the sponge, wait until it soaks in (this can take a few minutes), then repeat, until it is wet all the way down. Be sure to only gently drip, not pour the water, or you may wash out the seeds. Once re-hydrated, the sponges will continue to wick fine from there on out.
I always check to make sure the sponges have wicked water all the way to the top the day after placing them. If they haven't, I go ahead and drip water on them; rarely will they end up re-hydrating by themselves if they haven't overnight.
As a side note, certain plants, particularly rosemary and oregano, dislike being really wet. After a couple of days to let the seeds soak well, pull the pods, and lift up the sponges so they rest against the bottom of the labels, then gently wedge the bottom of the sponge into the basket uprights to keep it in place. Once they have developed a couple of true leaves (after the initial pair of cotyledons) you can lower them back down.


Seat the Clear Domes Properly
It is important - though not critical - to ensure the clear domes are seated properly, reaching all the way to the growing deck. Their primary function is to increase the humidity in the micro-climate of the seeds, and also help guard against temperature fluctuations. If the edges don't sit flush on the deck, both of these functions are lessened or eliminated entirely.
There are generally two situations in which the domes don't sit flush. One is that the pods themselves are not seated properly, so the domes sitting on top of them don't reach the deck. If the pods don't want to sit flush, lift and give a quarter turn and try seating them again, and/or give them a firm press. The other, and much more common, situation in which the domes don't sit flush, is that the labels on the pods aren't quite centered, and thus hanging over on one side. Even though it doesn't look like much, it's just enough to interfere with the domes doing their job properly. It is, however, easily fixed! Just take out the pod and trim the excess off with a sharp pair of scissors, then replace them and the dome on top. All should fit well.
(There are a few models of AG's that have a slightly raised lip around the holes that raises the pods up far enough that the domes will not actually reach the deck. In those models, just make sure it sits evenly on the surface of the pod and don't worry about it.)
I Have Stuff Growing on my Pod!
Generally speaking, there are three things - other than sprouting seeds, of course - that can end up growing on top of your pods.
Cobwebby Strands

- Remove the dome. Mycelium likes damp, warm environments, so increasing airflow will reduce or eliminate it. However, these are also the conditions that germinating seeds like, so you will likely slow their speed, as well.
- Gently wipe it off with a q-tip dampened with hydrogen peroxide. This will definitely remove the mycelium. Just be careful not to apply the h2o2 directly to any sensitive seedlings, as it is mildly corrosive and can kill them as well.
- Sprinkle with a tiny bit of ground cinnamon. Cinnamon has antifungal properties and will reduce or eliminate the mycelium. Not the best choice if growth is already thick, as it can further block light to the tiny seedlings.
Green Algae
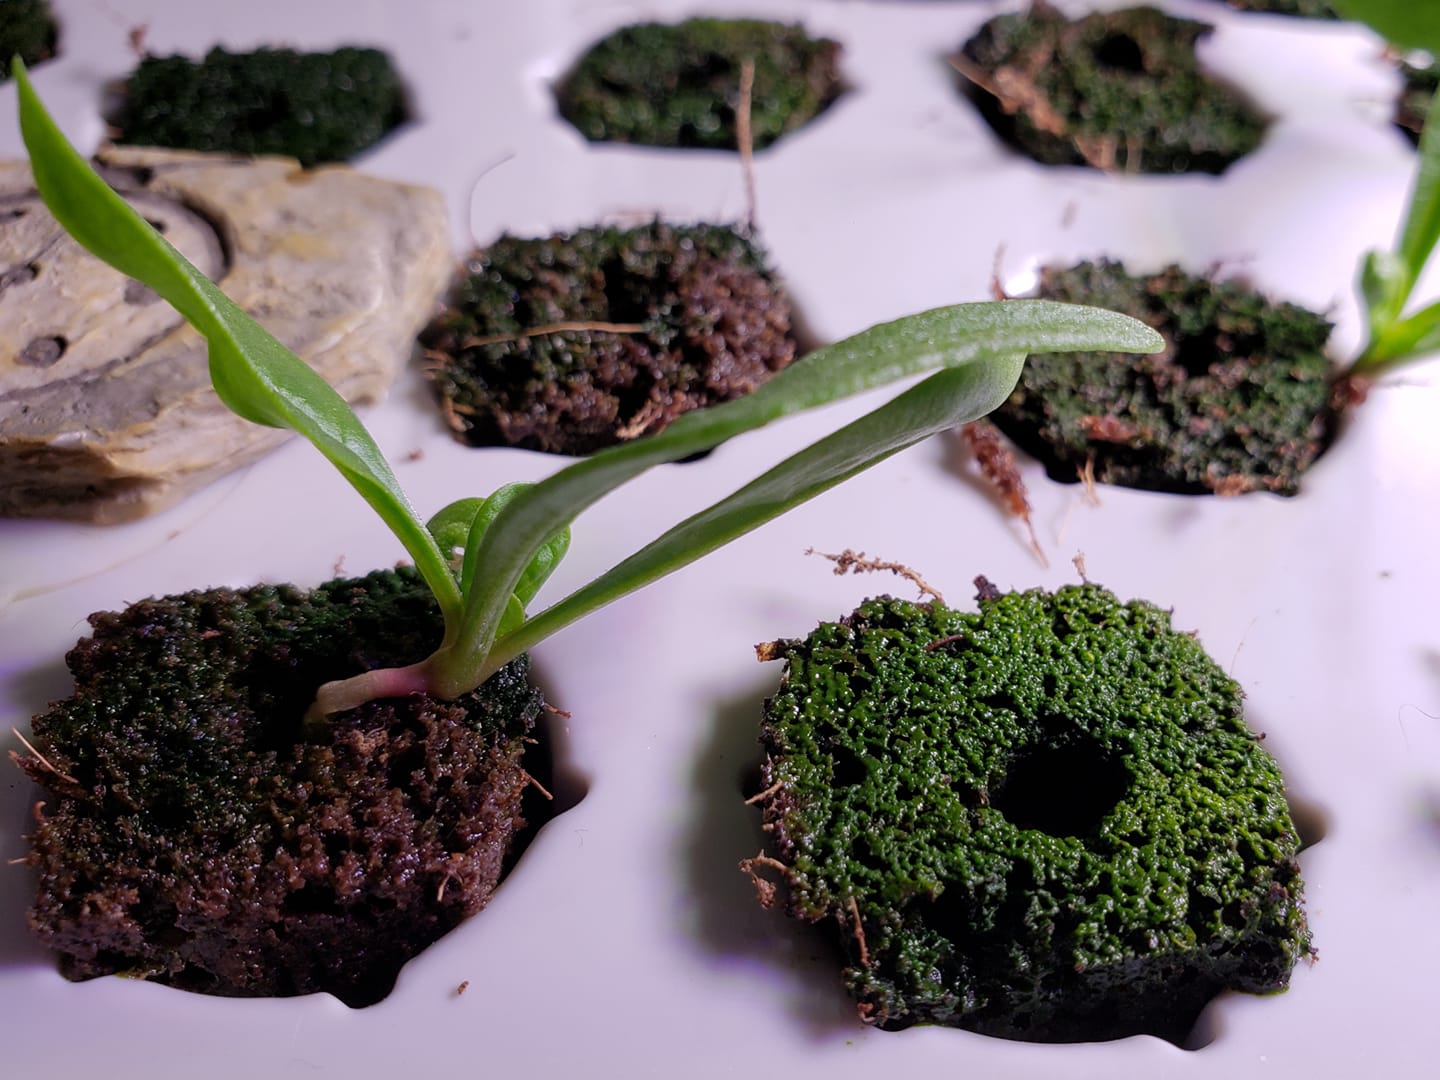
So, what to do if algae forms on your grow sponges? You can simply ignore it. It is unlikely to do any harm to your seedling unless it gets thick enough to suffocate it, and once the plant grows a bit and prevents light from reaching the sponge surface, the little bit of algae will die off. However, if you want to be extra vigilant about it, you can, like the mycelium, gently wipe it away with a q-tip wet with hydrogen peroxide.
Mold
More rarely, you can sometimes find actual mold on a grow sponge, particularly at lower temperatures. Although generally not a problem in itself, this can be a sign that your seeds may have died. It can also on occasion be a problem for tender young seedlings, though not dangerous to more mature young plants. Just as with the other two categories, the easiest way to deal with it is to gently wipe it off with a q-tip wet with hydrogen peroxide.
But All My Other Pods Sprouted!
A very common refrain is something along the lines of, "All my other pods sprouted by day 5, and it's now day 10, so this one must be a dud!" even though it says right on the pod that that particular plant takes 14-21 days to sprout.
There is a reason AeroGarden will not replace any pods as duds before 21 days, and even that is too early to give up on many types. It is not unusual to have seeds take up to 28 days to germinate. Be patient! Even under absolutely perfect growing conditions, the days to germinate is, at best, an educated guess; different seeds will take different amounts of time to sprout, even of the exact same type. And conditions are rarely perfect; too cold, too dry, too wet, or just older seeds, can all affect how quickly they sprout. I have literally had in a single pod one seedling sprout days before it was 'supposed' to, another 2-3 come up during the expected window, then had another come up more than a month later. Even with quick-sprouting species, under certain conditions they can take weeks to germinate.
Condensation on the Domes

Similarly, a lack of condensation can mean nothing more than that the air within the system is not particularly humid, or can mean that the dome is not seated quite well enough, or nothing at all. I do take note of those domes without condensation, and take it as a sign to make double sure that the sponges are wet all the way to the top as outlined above. However, as long as the sponges are wet, I pay it no further mind.
Special Needs Seeds
There are a few varieties of seeds that need a little special attention to get them growing nicely. This includes Rosemary, Sage, Oregano, Thyme, Cilantro, and legumes (beans and peas.) I cover them in their own post, Dealing with Special Needs Seeds.


No comments:
Post a Comment